Making Homemade Ice Cream is a fun and rewarding experience that brings joy to any kitchen. With just a few simple ingredients like cream, milk, and sugar, you can create delicious, creamy treats. Whether you’re crafting classic flavors like vanilla and chocolate or experimenting with unique combinations, the possibilities are endless. Plus, it’s a great way to enjoy fresh, preservative-free desserts at home. In this post, you’ll discover easy recipes, tips for perfect texture, and creative flavor ideas that will make your Homemade Ice Cream stand out. Let’s dive in and start making your sweet creations!
Why Homemade Ice Cream is Worth the Effort
Healthier and More Natural Ingredients
Homemade Ice Cream allows you to control the quality of ingredients. Using fresh cream, milk, and sugar, you avoid artificial additives found in store-bought versions. Many commercial ice creams are packed with preservatives and chemicals to extend shelf life. By making it yourself, you can ensure only natural ingredients go into your treats.
You can even substitute some ingredients for healthier alternatives. For example, use organic cream or plant-based milk like almond or coconut milk for a dairy-free option. Sweeteners like honey or maple syrup offer a more natural alternative to refined sugar. This way, you get to enjoy a creamy, delicious dessert without the guilt.
Customize Your Flavors
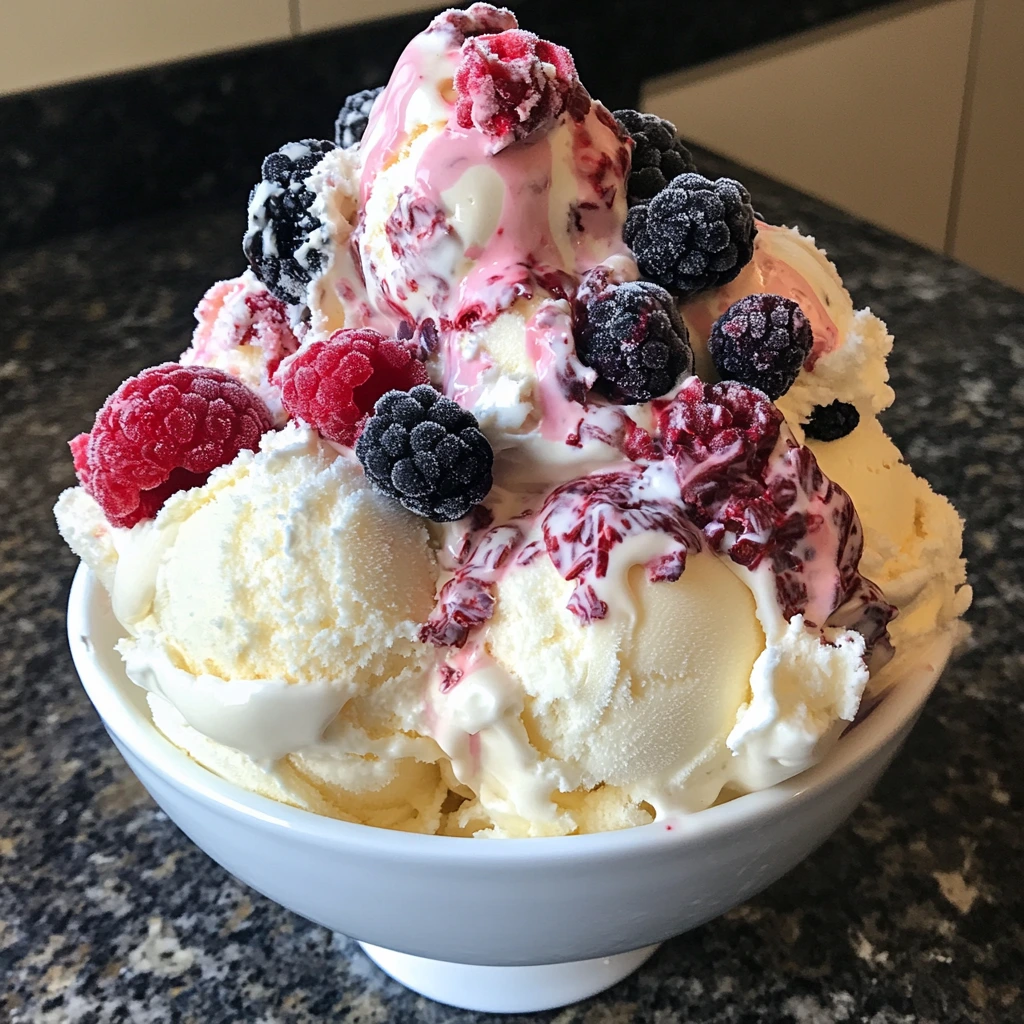
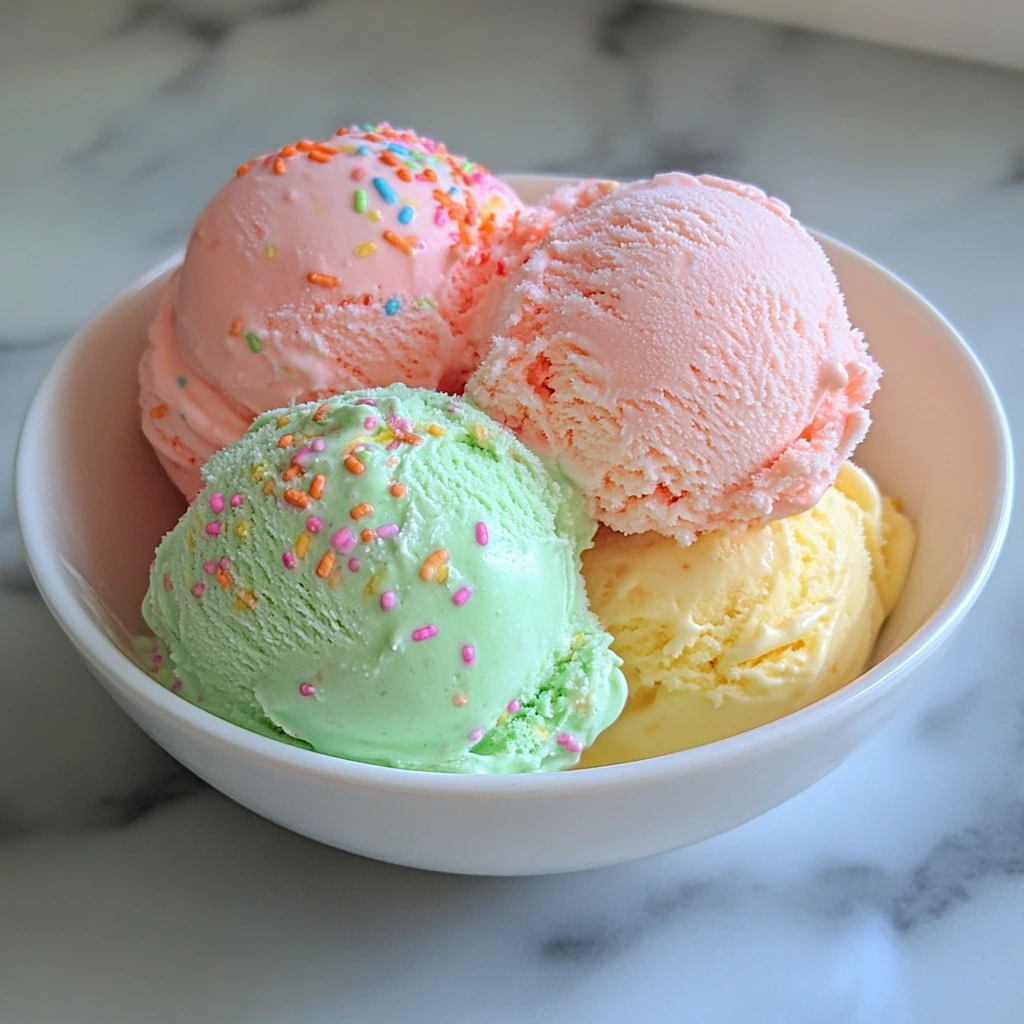
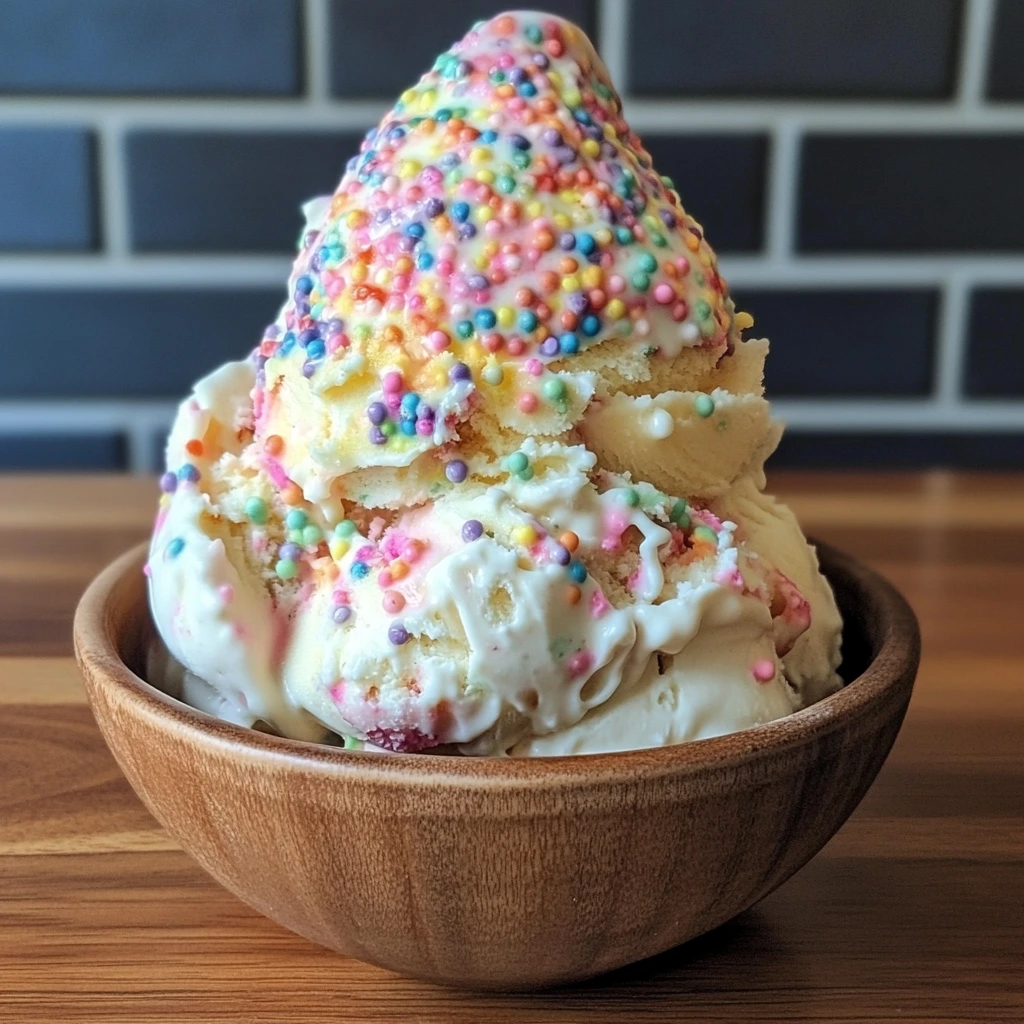
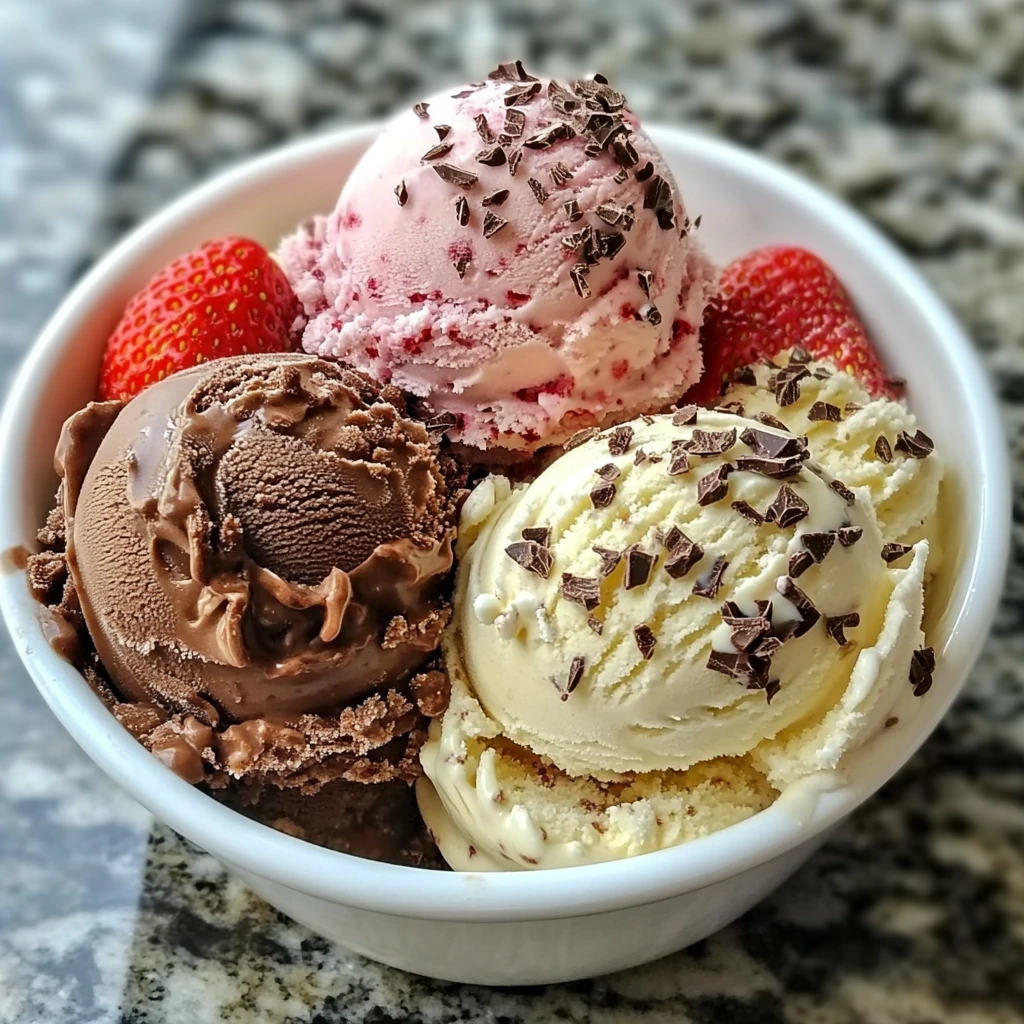
One of the best parts of Homemade Ice Cream is the ability to customize your flavors. You can create any combination that suits your taste. For a classic treat, mix vanilla with chocolate chips or swirl in some caramel. If you’re feeling adventurous, try adding fruit purees like strawberry, mango, or even kiwi for a refreshing twist.
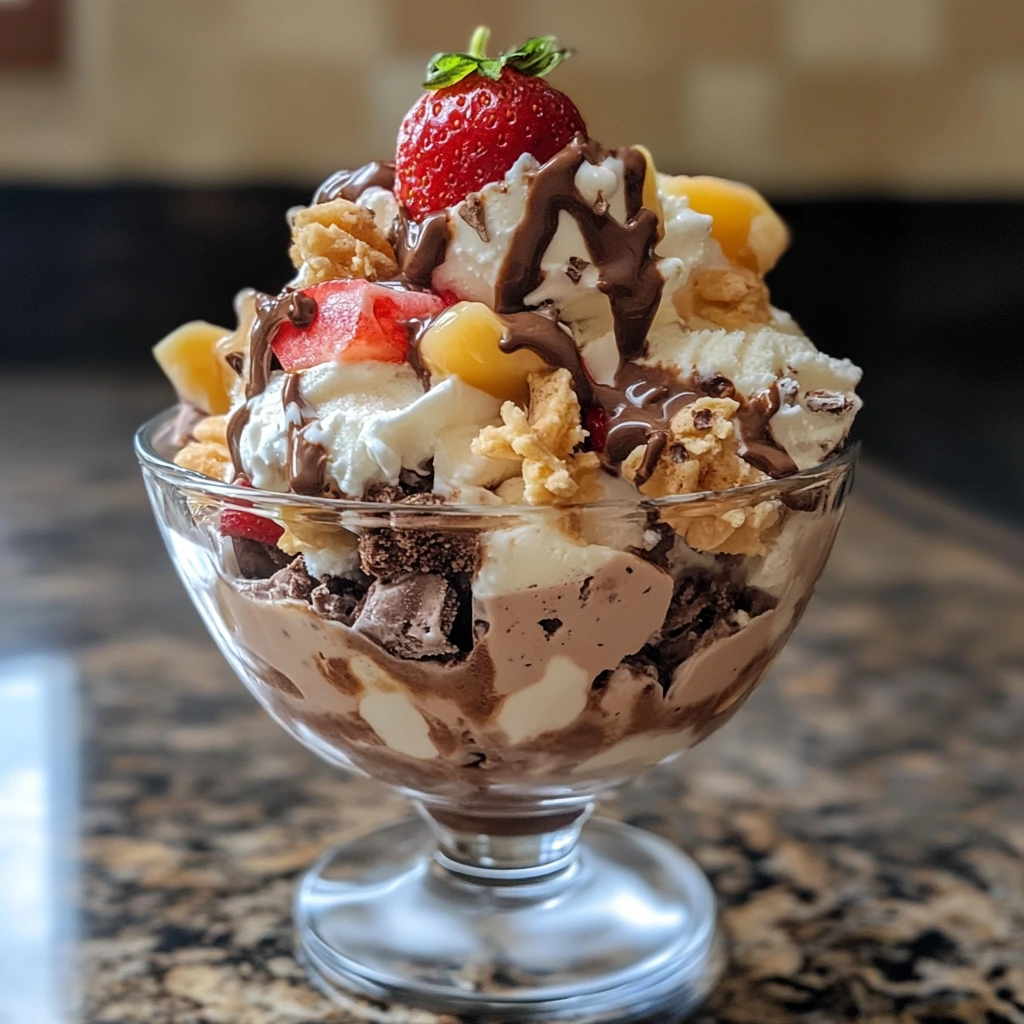
You can also experiment with spices and herbs. A touch of cinnamon, nutmeg, or fresh mint can completely change the flavor profile. Want a bit of crunch? Add crushed cookies, nuts, or candy pieces for texture.
Customizing your ice cream means you can make flavors you won’t find in stores, and it’s easy to adjust sweetness or add-ins based on your preferences. Whether you’re craving rich and creamy or light and fruity, the choice is yours.
Fun and Family-Friendly Activity
Making Homemade Ice Cream is a fun, hands-on activity that everyone in the family can enjoy. Kids will love being involved in the process, from mixing the ingredients to adding their favorite toppings. It’s a great way to bond and create lasting memories together.
You can turn it into a mini ice cream-making party. Let each person pick their own flavor or toppings. This way, everyone gets a treat tailored to their preferences.
Even if you don’t have an ice cream maker, there are simple no-churn recipes that make it easy for all ages to join in. Not only will you have fun, but you’ll also get to enjoy the fruits of your labor right after. Homemade ice cream brings joy to the kitchen and beyond!
Essential Ingredients for Making Homemade Ice Cream
Cream, Milk, and Sugar – The Basics
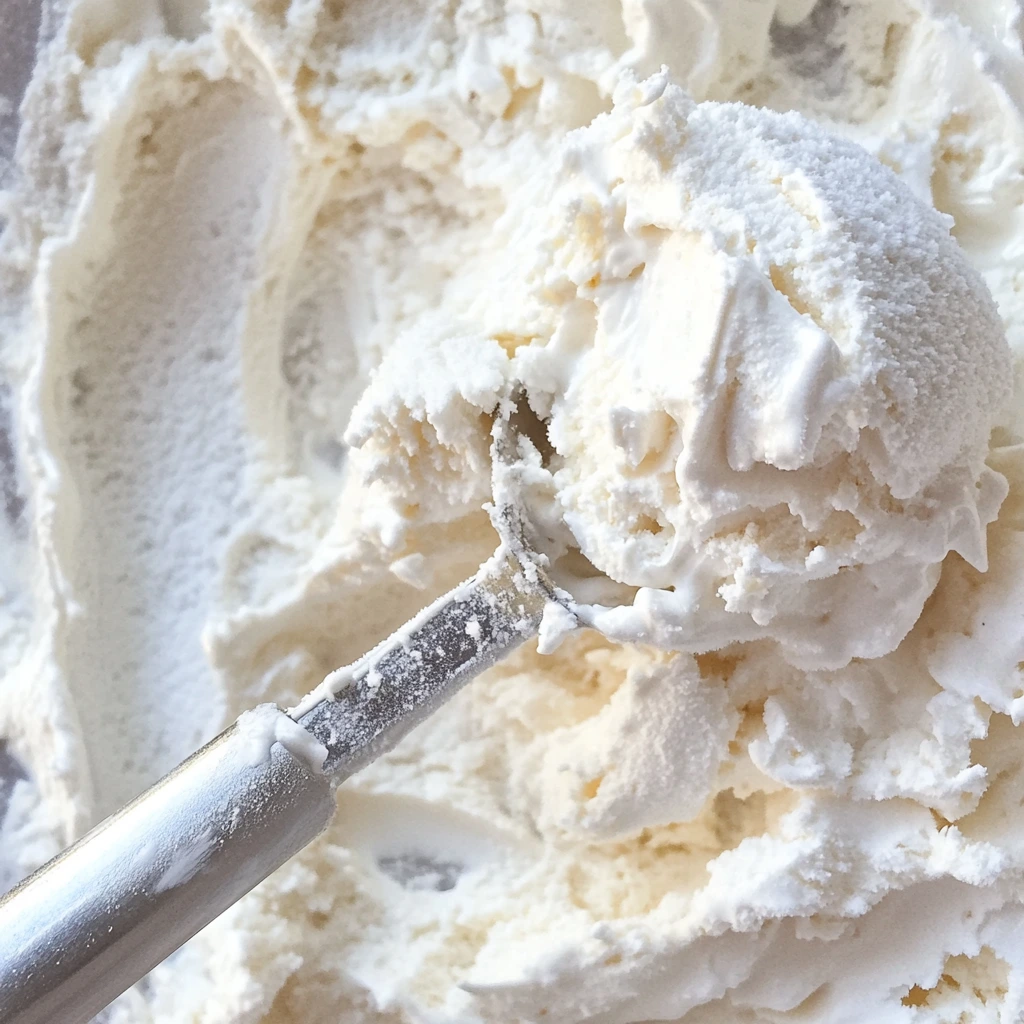
Cream, milk, and sugar are the foundation of every great Homemade Ice Cream recipe. The heavy cream adds richness and smoothness, creating that creamy texture we all love. Full-fat milk complements the cream, providing a lighter base while enhancing the flavor.
Sugar not only sweetens the ice cream but also helps with the freezing process. It lowers the freezing point, preventing the ice cream from becoming too hard.
For a richer, custard-style ice cream, you can use a higher ratio of cream to milk. If you prefer a lighter treat, adjust the proportions to your liking. These basic ingredients are versatile, allowing you to create both simple and more complex flavors. By using fresh, high-quality cream, milk, and sugar, you’ll ensure your Homemade Ice Cream is as delicious as it is creamy.
Flavoring Your Homemade Ice Cream
Flavoring your Homemade Ice Cream opens up endless possibilities for creativity. Classic flavors like vanilla, chocolate, and strawberry are always a hit. To make vanilla ice cream extra special, consider using real vanilla beans instead of extract for a richer flavor.
For chocolate lovers, add cocoa powder or melted chocolate to your base. You can even experiment with dark chocolate or white chocolate for a twist. Fruit purees, such as strawberry, mango, or raspberry, can bring a refreshing, natural sweetness to your ice cream.
If you prefer something unique, try spices like cinnamon, nutmeg, or even a pinch of salt for a salted caramel flavor. Mix-ins like crushed cookies, nuts, or candy pieces add texture and extra flavor. The beauty of Homemade Ice Cream is that you can adjust the ingredients to suit your personal taste, making it as simple or adventurous as you want!
Optional Add-ins for Extra Creaminess
For extra creaminess, there are several optional add-ins you can incorporate into your Homemade Ice Cream. One popular choice is sweetened condensed milk. It adds a smooth, rich texture and a hint of sweetness without the need for extra sugar.
Egg yolks are another option, especially in custard-style ice creams. They help create a velvety, smooth consistency by binding the fats and liquids together. This results in a thicker, richer texture.
You can also experiment with coconut milk or heavy cream for a dairy-free or even richer version. For those seeking a lighter treat, consider using Greek yogurt. It provides a creamy consistency while adding a tangy twist.
These add-ins let you tailor the texture and flavor to your liking. Whether you’re aiming for ultra-creamy or a lighter, dairy-free option, these ingredients can elevate your ice cream experience.
Step-by-Step Guide to Making Homemade Ice Cream
No-Churn Homemade Ice Cream – Quick and Easy
No-churn ice cream is a quick and easy way to enjoy Homemade Ice Cream without any special equipment. This method typically involves whipping heavy cream until it’s thick, then folding in sweetened condensed milk. The result is a smooth, creamy base without the need for an ice cream maker.
To flavor your no-churn ice cream, simply add your desired ingredients, such as fruit purees, chocolate chips, or nuts. For extra richness, you can swirl in caramel or fudge.
Once combined, pour the mixture into a container and freeze for several hours, or until it sets. The beauty of no-churn ice cream is that it’s incredibly versatile and allows you to experiment with different flavors without much effort. Whether you’re in the mood for something fruity or chocolatey, this method makes Homemade Ice Cream accessible to everyone.
Using an Ice Cream Maker
Using an ice cream maker is a great way to achieve a smooth, creamy texture in your Homemade Ice Cream. Start by preparing your ice cream base, which can be custard-based or simple, depending on your recipe. After mixing the ingredients, pour the base into the ice cream maker.
Turn on the machine and let it churn for about 20-30 minutes. The churning process incorporates air into the mixture, giving your ice cream a light, fluffy texture.
Once it thickens, you can add mix-ins like chocolate chips, crushed cookies, or fruit. After churning, transfer the ice cream to a container and freeze for a few hours to firm up. Using an ice cream maker allows for better consistency and a richer taste compared to no-churn methods. The process is simple, and the results are deliciously creamy, with endless flavor possibilities.
Tips for Perfect Texture and Flavor
To achieve perfect texture and flavor in your Homemade Ice Cream, start by using the right ingredients. Always use full-fat cream and milk for a rich, creamy base. If you’re making a custard, cook it gently to avoid curdling.
Churn the ice cream for the right amount of time. If you over-churn, it can become too icy; under-churning may leave it too soft. Aim for a smooth, thick consistency before freezing.
Once frozen, let the ice cream sit out for a few minutes before scooping. This allows it to soften slightly, making it easier to serve.
For flavor, balance sweetness with a pinch of salt to enhance the taste. Add-ins should be added just before the ice cream reaches its desired consistency to prevent them from sinking. These tips will help you create the perfect ice cream with a smooth texture and bold, balanced flavors.
Popular Ice Cream Flavors to Try at Home
Classic Flavors – Vanilla, Chocolate, Strawberry
Classic flavors like vanilla, chocolate, and strawberry are timeless favorites in Homemade Ice Cream. Vanilla is the perfect base for creating rich, creamy ice cream. Use real vanilla beans or vanilla extract to get a deep, authentic flavor.
Chocolate ice cream is a crowd-pleaser. For a rich, indulgent treat, add cocoa powder or melted chocolate to the base. You can experiment with dark chocolate or even swirl in fudge for extra sweetness.
Strawberry is another classic option. Fresh strawberries or strawberry puree can be mixed into the base, giving it a light, fruity flavor. Adding small chunks of fresh fruit can also provide a fun texture.
These classic flavors are versatile and easy to make. Whether you’re craving something simple or want to add a personal twist, these timeless flavors are always a great choice for Homemade Ice Cream.
Creative Homemade Ice Cream Flavors
Creative ice cream flavors allow you to think outside the box and try unique combinations. For a fun twist, consider adding spices like cinnamon or ginger for warmth and depth. Matcha or chai spices can also give your ice cream a distinctive flavor.
Fruity combinations, such as mango-pineapple or lemon-blueberry, offer a refreshing change. Pureed fruits can be swirled into the base or added as chunks for texture.
If you’re a fan of desserts, try flavors like cookie dough, salted caramel, or s’mores. Mix in crushed cookies, toasted marshmallows, or a swirl of caramel sauce.
For those who love indulgence, combine chocolate with peanut butter, espresso, or Nutella for extra richness. Creative flavors open up endless possibilities, allowing you to experiment and make ice cream that suits your unique taste preferences!
Special Diet Homemade Ice Creams (Vegan, Low-Sugar)
Special diet ice creams cater to different dietary needs while still offering delicious flavors. For vegan ice cream, swap dairy with plant-based milks like coconut, almond, or oat. Full-fat coconut milk creates a rich, creamy texture without the dairy. You can sweeten with maple syrup or agave nectar instead of refined sugar.
Low-sugar ice creams are a great choice for those looking to reduce sugar intake. Use natural sweeteners like stevia or monk fruit to replace traditional sugar. These sweeteners won’t spike blood sugar levels and provide a guilt-free treat.
Both vegan and low-sugar ice creams allow for creative flavors. You can make chocolate, fruit, or even nut-based ice creams. With the right ingredients, special diet ice creams can be just as creamy, flavorful, and satisfying as traditional versions.
Common Homemade Ice Cream Making Mistakes to Avoid
Over-churning or Under-churning
Over-churning or under-churning your Homemade Ice Cream can affect its texture. If you over-churn, the ice cream may become too hard and icy. The air incorporated during the churning process is essential for a creamy, smooth texture. If you churn too long, that air can be lost, leaving your ice cream denser.
On the other hand, under-churning can result in a softer, less stable consistency. The ice cream may not hold its shape well and can be more like a milkshake. Churning just the right amount will ensure a smooth and creamy texture.
For best results, follow your recipe’s recommended churning time. If you’re using an ice cream maker, keep an eye on the texture during the process. The mixture should thicken to a soft-serve consistency before freezing. The goal is to find a balance between smoothness and airiness.
Not Letting Ice Cream Freeze Enough
Not letting your Homemade Ice Cream freeze enough can lead to a soft, runny texture. After churning, the ice cream should be transferred to a container and placed in the freezer to firm up. If you don’t freeze it long enough, the texture will be too soft, and it won’t hold its shape when scooped.
The freezing time can vary depending on the recipe and your freezer’s temperature. Generally, Homemade Ice Cream needs at least 4 hours to fully set. For the best results, let it freeze overnight.
It’s important not to rush this step. While it might be tempting to eat it right away, patience is key to getting that perfect creamy, scoopable texture. If the ice cream is still too soft after freezing, try letting it sit out for a few minutes before scooping to make it easier to serve.
Using the Wrong Type of Ingredients
Using the wrong type of ingredients can negatively impact the texture and flavor of your Homemade Ice Cream. For instance, using low-fat milk instead of full-fat cream will result in a less creamy texture. The richness of the cream is key to achieving a smooth and indulgent ice cream.
Sweeteners also play an important role. Using the wrong sweetener, such as one that doesn’t dissolve properly, can affect the consistency. Stick to granulated sugar, maple syrup, or sweetened condensed milk for best results.
If you substitute ingredients without considering their properties, the ice cream may not freeze well. For example, replacing cream with a non-dairy alternative like coconut milk may require adjustments to the recipe for optimal texture.
Always use high-quality ingredients, and be mindful of substitutions to avoid compromising the final result. The right ingredients ensure your ice cream turns out rich, smooth, and delicious.
Conclusion
Making Homemade Ice Cream is a fun and rewarding experience that allows you to customize flavors and ingredients. Whether you prefer classic options like vanilla, chocolate, and strawberry, or you want to explore creative, special-diet variations, the possibilities are endless.
By using the right ingredients, following simple tips, and avoiding common mistakes, you can achieve the perfect creamy texture and rich flavor every time. So, gather your ingredients, get creative, and start making your own delicious ice cream at home today!